Welcome to our guide on how to install GFCI outlet yourself! Whether you are a seasoned DIY sucker or a freshman looking to attack your first electrical design, this step- by- step companion will walk you through the process of installing a GFCI outlet in your home. But before we dive in, let’s start with a quick preface to GFCI outlets and why they’re important.
What is a GFCI Outlet?
A Ground Fault Circuit Interrupter (GFCI) outlet is a special type of electrical outlet that helps cover you from electrical shock. It’s designed to snappily shut off power to the outlet if it detects a ground fault, which could do if there’s a break in the electrical circuit or if water comes into contact with the outlet.
GFCI outlets are generally needed in areas of the home where there’s a advanced threat of electrical shock, similar as bathrooms, kitchens, garages, and out-of-door areas. Installing a GFCI outlet in these locales can help help accidents and insure the safety of you and your family.
How to Install GFCI Outlet Yourself: Step by Step Guide
Step 1: Gather the Necessary Tools and Accoutrements
Before you begin the installation process, make sure you have all the tools and accoutrements you’ll need. Here’s a list of what you’ll generally need:
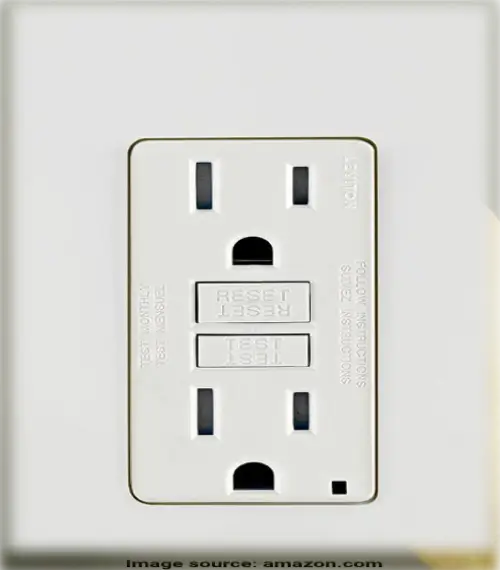
- GFCI outlet
- Knives /strippers
- Screwdriver
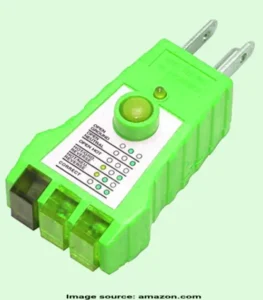
- Voltage tester
- Electrical tape recording
- Wire nuts
- Electrical box
Make sure you have these items on hand before you start the installation.
Step 2: Turn Off the Power
Safety should always be your top precedence when working with electricity. Before you begin the installation, turn off the power to the outlet you’ll be replacing. Detect the circuit breaker that controls the outlet and switch it off. To be redundant conservative, use a voltage tester to ensure that there’s no power running to the outlet.
Step 3: Remove the Old Outlet For Install GFCI Outlet
Before you can install the new GFCI outlet, you will need to prepare the cables. Start by stripping the sequestration off the ends of the cables, exposing about1/2 inch of bare wire. However, it’s stylish to replace them before pacing with the installation, If the cables are damaged or rasped.
Step 5: Connect the Wires to the GFCI Outlet
Now it’s time to connect the cables to the GFCI outlet. The GFCI outlet will generally have four screw outstations two brass- colored screws, one tableware- colored screw, and one green screw. Then is how you should connect the cables.:
- Connect the black (hot) wire to the brass-colored screw labeled “Line.”
- Connect the white (neutral) wire to the silver-colored screw labeled “Line.”
- If there is a bare copper or green wire, connect it to the green screw, which is the grounding screw.
Make sure the connections are tight and secure. You can use wire nuts to ensure a secure connection.
Step 6: Next Install GFCI Outlet
With the cables connected, it’s time to install GFCI outlet into the electrical box. Precisely tuck the cables into the box and align the GFCI outlet with the screw holes in the box. Use a screwdriver to secure the outlet to the box.
Step 7: Secure the GFCI Outlet
Precisely tuck the cables into the electrical box, icing they don’t intrude with the outlet’s outstations.
Step 8: Install the Cover Plate
Attach the cover plate to install GFCI outlet using the handed screws. Return to the circuit swell panel and switch the power back on for the circuit.
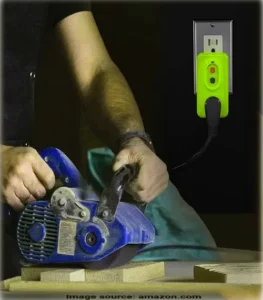
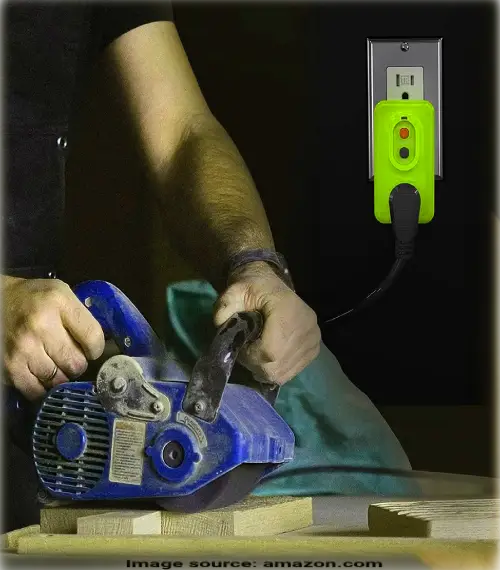
Step 9: Test the GFCI Outlet
Once the GFCI outlet is installed, it’s important to test it to insure it’s working rightly. Start by turning the power back on at the circuit swell. Press the” Reset” button on the GFCI outlet, and also press the” Test” button. Press the” Reset” button again to restore power. Still, there may be an issue with the installation or the outlet itself, If the GFCI outlet does not trip when you press the” Test” button. In that case, it’s stylish to consult a professional electrician to insure your safety.
Step 10: Replace the Cover Plate
Once you’ve tested the GFCI outlet and verified that it’s working rightly, replace the cover plate. Make sure the screws are tensed securely to hold the cover plate in place. Conclusion Installing a GFCI outlet can be a fairly simple DIY design that can greatly enhance the safety of your home.
Conclusion
By following these steps and taking the necessary precautions, you can confidently install GFCI outlet by yourself. Remember, if you ever feel unsure or uncomfortable working with electricity, it’s always best to consult a professional electrician. We hope this companion has been helpful, and we wish you the stylish of luck with your GFCI outlet installing. You can also learn more from amazon.